4 steps to install rivet nut fasteners
Drill a pilot hole and insert the willow fastener, securing tightly. For optimal results, use a fastener gun or manual tools, and apply wood glue or a rust inhibitor for durability.
Table of Contents
TogglePlace rivets into pre-drilled holes
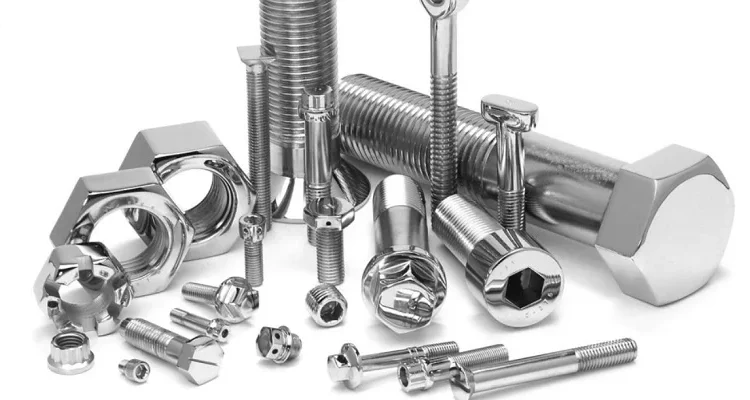
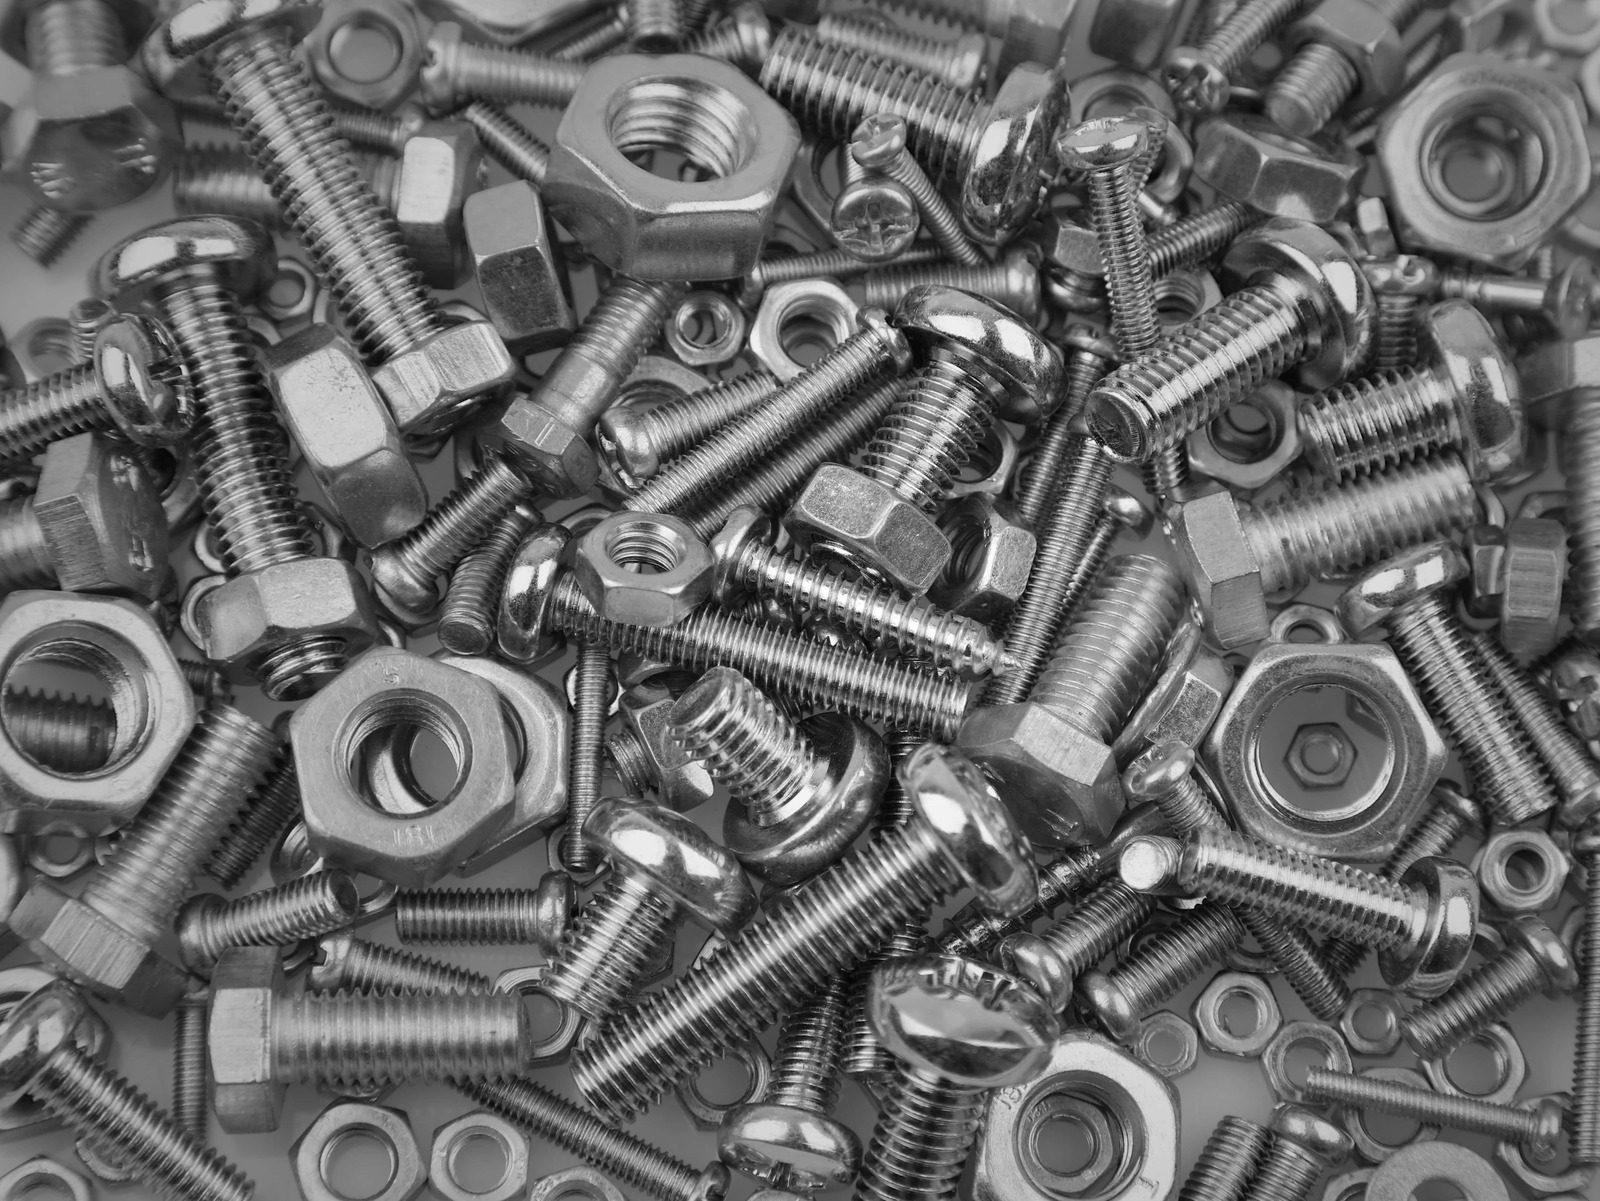
Selecting the proper rivet nut is important for safety and longevity of any construction, as it has to correspond to the mechanical and technological needs of project or object. Most commonly, there are three types of materials the rivet nut is made of – aluminum, steel, and stainless steel . The material of the rivet nut has to be selected upon the demands of loads it would be subject to. Thus, stainless steel complements well the outdoor use as the presence of open air means the possible increased level of humidity, which causes the metal to corrode faster . In the same way, the size of the rivet nut has to be equal to the thickness of the material it is joining – the sizes vary commonly from 1/8 inch to 3/8 inches . Below, we describe the process of installation of such element in details.
Tools and Preparation
In addition to the rivet nut itself, the tools that may be necessary for its installation include the rivet nut tool and drill, as well as the corresponding drill bits. The drill bit has to be larger than the size of the rivet nut in order for it to fit easily – for a 0,25 inch rivet nut using a 0,29 inch drill bit will be optimal. Before usage, the rivet nut tool has to be properly calibrated – it has to fit circa 20-40 pounds of force that could be applied afterwards on any material, and no more. It is important to verify this process, as too little force will leave the rivet nut rotating and eventually falling out and too much would damage the element or the material.
Drilling and Cleaning the Hole
Drilling the hole in the element one intends to strengthen is rather simple – yet, one has to ensure that all the debris and burrs are removed afterwards in order to make the rivet nut sit firmly and fit squarely in. Finally, a deburring tool has to be used to remove any undesirable parts that would prevent the correct placement of the element. At the same time, it is important to ensure that the hole’s depth is at least as large as the length of the rivet nut’s body, in order for it to fit entirely inside. .
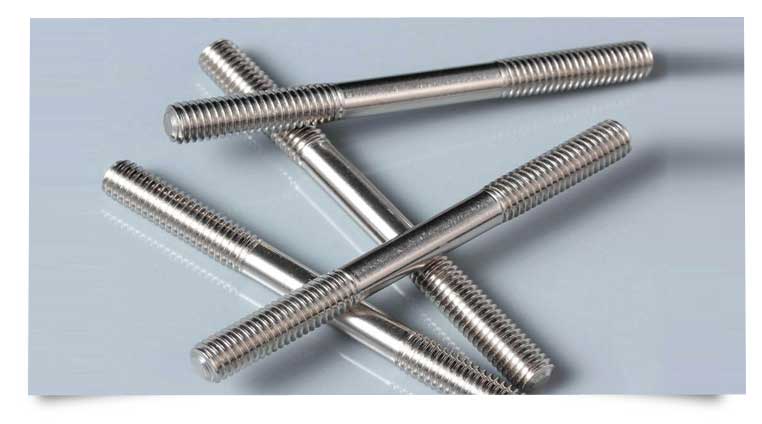
Stainless Steel Stud
Place the ejector pin on the back of the rivet
Selecting the Appropriate Ejector Pin
The first step in moving forward with a successful installation is selecting the correct pin for the task at hand. Ejector pins are the tool’s driving force, and as such, one must select the right pin for the rivet size and material. When it comes to standard rivets, the most suitable pin will be 0.1 mm smaller in diameter than the rivet itself. A smaller pin will fit snugly into a bolt and provide the force required to accurately adjust the bolt. Although a larger pin could be used, it would only get in the way and make the rivet more difficult to adjust in place than when a smaller pin for the job is available.
Preparing Rivet Site
The rivet site should always be prepared to ensure a successful installation. Begin by taking the length to clean the site thoroughly as such. Then proceed to use a marking implement to indicate the bolt’s exact spot of installation and adjust accordingly.
Placement of the Ejector Pin
Once the tools are prepared, attention should be turned to how the rivet will be installed. With the rivet in hand, it should always be attached to the back of the pin, keeping the ejector straight and aligned with the rest of the bolt. By doing so, one can avoid any imperfections and ensure the bolt will be completely secured. Then proceed to turn on the gun and blast the rivet into position.
Installing and securing the Rivet
Lower down the pin so that it is in direct contact with the rivet, then proceed to pull the gun’s trigger and blast the rivet through the hole that was pre-prepared in the bolt’s body. Pay attention to the pressure strength being carefully applied to the rivet, ensuring that it will all be spread out by crating the right compression required for the task at hand to secure the bolt in place. Once the bolt is secured, the job is done.
Hit the head with a hammer
In preparation for setting a rivet manually, the choice of hammer is paramount. The hammer’s size and weight should correspond to the size and specification of the rivet in question. Small rivets , up to 1/8 inch, require lightly weighted hammers of about 8 ounces. Larger rivets will need a heavier hammer, with a weight of about 16 ounces . This weight is adequate to set the heavier rivets without applying too much effort or output.
Preparing the Rivet and Materials for Hammering
Before the rivet is hammered, it is imperative that the two surfaces to be joined fit and are in alignment . To that end, holes should be made, and the rivet inserted through them and through the materials they are joining. The rivet should snugly fit through the hole with no lateral movement to guarantee a tight and adequately fastened joint.
Positioning the Rivet for Hammering
The head of the rivet should be placed on a hard surface such as an anvil made of metal or the back of a heavy bench vice; a benefit is that the heavy hard surface would support the full weight of the force of the hammer and not slip away or sway. The rivet should always be positioned from the bottom end to accommodate the expansion and deformation required to hold the surfaces. It is crucial too to ensure the stability of the rivet on the hard surface, as any misalignment would render the application of force impossible.
Hammering the Rivet
The rivet should be struck at the bottom end with a hammer of choice. The applicator’s hand should light before wind does a heavy blow. The light beat would first set the rivet in place alongside the material it is interspersed worth. This process can then be followed with a gradual increase in the firmness and the weight of the blows . For a rivet of this size and material, the rivet would take at least 3 to 5 hard strikes. To guarantee the success and veracity of the results, both ends and the relative joints should be carefully examined to ascertain their expandability and levels of firmness.
When to Use Bolts
The back ejector is flush with the material
Warning: it is crucial to match the back ejector with the surface of the material being installed. This is the only way to be 100% sure that the rivet nut is accepted without protruding parts that could compromise the connection.
Choosing the right rivet nut
First, it must be the correct size in both dimensions. There are different types of rivets based on what they are threaded into. The rivet nut must have a length that, when installed, positions the back ejector flush with the material. This will ensure that no gap or slightly loosened grip between the rivet nut and the material are guaranteed. In other words, the higher your back ejector goes, the deeper your total body must be, and therefore the thicker the material. I cannot guarantee that the force required to secure the bolt is a minimum. Note that the back ejector can be straight or curved.
Preparing and Drilling
Next, clean the site and drill a hole of the appropriate diameter just deep to the depth of the rivet nut plus a small tolerance for the length of the back ejector. The drill bit is marked, so this size must be accurately matched.
Rivet Nut Installation
Once the mechanical nut has been properly attached to the rivet nut tool, make sure it is not tilted and insert the sliding rivet nut into the freshly drilled hole. Tighten to lock the pull rod in place and pull the rivet head back to turn the back of the bolt so that it fits easily against the surface of the material. At that time, the action was still in simple control. The most common cause of damage or destruction of rivets and materials is over-tightening. At the end of the installation, it is necessary to check that the back ejector is actually flush with the material. No space is provided, and the apex of the rivet nut must be tight against the surface of the material. A smooth installation is one of the most important ways to ensure the safety and integrity of the load.
相关文章