
How to assemble an extended tip set screw correctly without stripping
To install an extended tip set screw, clean threads, pre-drill a pilot hole, apply thread-locker, use tools for alignment and tightening, and check for secure fit with recommended torque.
Table of Contents
TogglePreparation for set screw installation
Before you start the installation process for the set screw, you need to take the time to prepare your work area and collect the necessary tools and materials. Such preparation ensures a smooth and efficient installation process. Start by organizing the workspace. All of your tools should be in one place. Typically, you will need a set of drill bits, a tap, a drill press, lubricants, and measurements.
Selection of the correct drill bit
The selection of the correct drill bit is vital for the successful installation of the set screw. The drill bit needs to be the same size as the set screw you are trying to install. The hole should usually be about 85-90% the diameter of the screw to ensure a tight fit. For example, if you are trying to install a 1/4-inch set screw, you will need a 5/16-inch drill bit. In addition, think about what material you are drilling into. For harder materials, a high-speed steel might be a good alternative, as it is more durable and accurate.
Threading with taps
The threading of the hole for the set screw is a highly accurate and delicate process that requires precision and patience. In order to create the internal thread, choose the right tap diameter according to the screw specification. Next, apply lubricant to the tap and the hole to reduce friction and prevent overheating. Firstly, use a center punch to create a starting point for the tap. Next, gently screw in a clockwise direction while holding the file perpendicular to the work surface. This is necessary to create an even thread. Finally, make sure to clean the chips and check the depth with a threaded screw thread gauge.
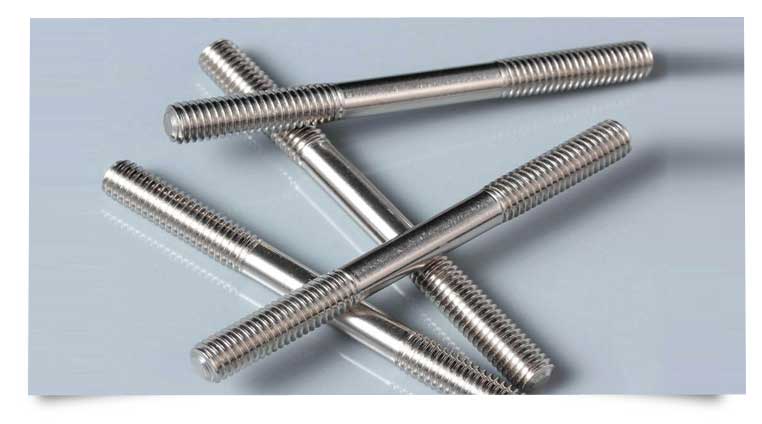
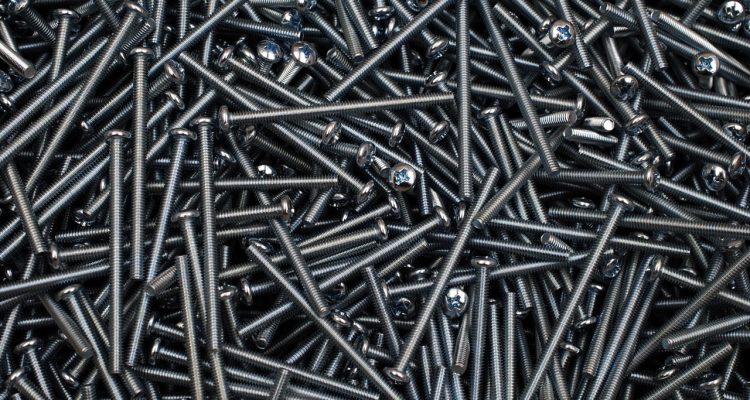
Stainless-Steel-Stud
Tips for Installing Set Screws Flawlessly
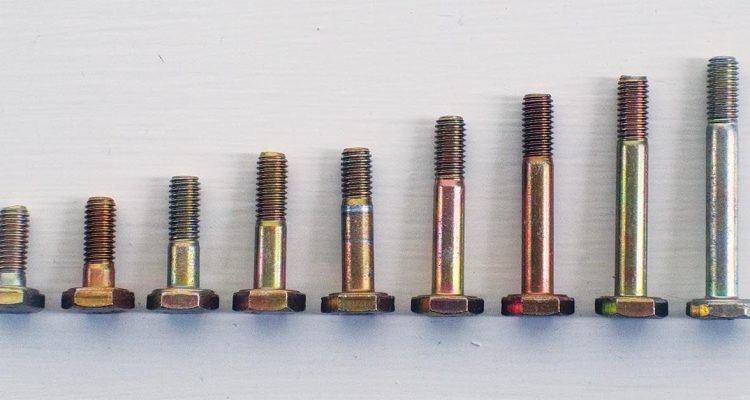
If you never used them before, a set screw is one that can be locked against another object usually a shaft or stud after screwing it in. This type of screw is used to fix an object that has no cross hole and flat area to bolt to. It is threaded along the few inches of its shaft that the entire length of the screw is designed to penetrate the countershaft or other underlying material. However, this screw cannot be cable clamped or permanently attached to the item it is being attached to. Using a bolt for this task may not be as effective or may not be applicable if the counter space is not bulky. This article will walk you through a couple of techniques to help you use this type of screw to attach or fix an object.
After screwing it in, a set screw must be at the correct depth to ensure it will never come free during the entire project operation. A typical depth of this type of screw is either flush with the surface of the item you have attached it to or a fraction below the surface. There are no specifications regarding how you should set your screw’s depth. Attaching the set screw requires the use a drill equipped with a stopper to regulate how deep each of the drill’s set screw it can go or use a drill press with a measurement gauge to monitor the depth. If you use stoppers, set the stop at 3/8 inch because the head of the screw is 5/8. Of course, always take the time to test the fit of the drilling screw on the object before assembling all the objects together.
Tightening with the Right Allen Wrench
Once the set screw is initiated, use the correct size Allen wrench to tighten it. The right size means that the wrench should fit snugly into the hex socket of the screw without any wobble. Tighten the screw slowly and evenly to avoid stripping the threads. It’s recommended to tighten the screw until finger tight, then use the Allen wrench to give it an additional 1/4 to 1/2 turn for a secure grip. Over-tightening can lead to thread damage or warping of the workpiece, so always err on the side of caution.
Ensuring a Flush Finish
After the screw is tightened, the final step is to ensure that the head of the set screw is flush with the surface of the workpiece. A flush finish not only looks professional but also prevents any snags or uneven surfaces that might occur if the screw protrudes. To achieve this, use a flat surface as a guide and carefully tap the set screw with a rubber mallet until it is level with the workpiece. If the screw is slightly below the surface, you can use a fine-grit sandpaper to gently bring it flush.
By following these steps, you can install set screws with confidence, knowing that your work will be secure and well-finished. Whether you’re working on a delicate piece of machinery or a simple DIY project, the attention to detail in these steps will ensure that your set screws perform their function reliably and look great doing it.
Mitigating the Risk of Stripped Screws
Taking the right precautions and following best practices can significantly reduce the risk of stripping screws, ensuring the longevity and reliability of your projects.
As suggested by Edmunds, starting with the right screw type is a good approach. For example, phosphate coated screw has up to 20% more torque capacity. Even though not directly related to screw type, keeping your tools clean and well maintained reduces the chances of friction to occur and damage the parts. Proper lubrication, meaning not too much nor too little grease, oil or a specialized spar, ease the driving of a screw by up to 15%. Similarly, using a screwdriver or a drill bit slightly larger or smaller than the size of the screw head could increase the angle under which the torque is transmitted and allow it to lift the screw instead of undoing it. Keeping your movement in the same direction and pressure at the tool tip at virtually any angle of rotation. Under no condition should the pressure be increased as this is one of the most common behaviors of operators causing screws to strip. Finally, if you are using a power drive, the torque setting should be precise and the power tool should be equipped with a clutch against over-tightening. Electric power or especially battery-powered impact drives, contrary to their adjusted speed counterparts, produce a pulse of torque and cause vibrations therefore can lift strip screws from the assembly. Finally, when the application of a screw is finished with its head not flush with the part or with any amount of play, it is a sign of being too loose and it is recommended to re-tighten.
-Using of thread locker compounds. For critical applications using a thread locking compound can hold the screw in place under vibration or heavy loads. Typically, a medium strength thread locker will require a pea-sized drop of compound for the screw to stay in place. By taking these measures you can greatly reduce the chance of a screw stripping and ensure that your work will stand the test of time. Preparation, technique, and attention to detail can go a long way in preventing the degradation of fasteners and ensuring that your work will remain solid and well-built.
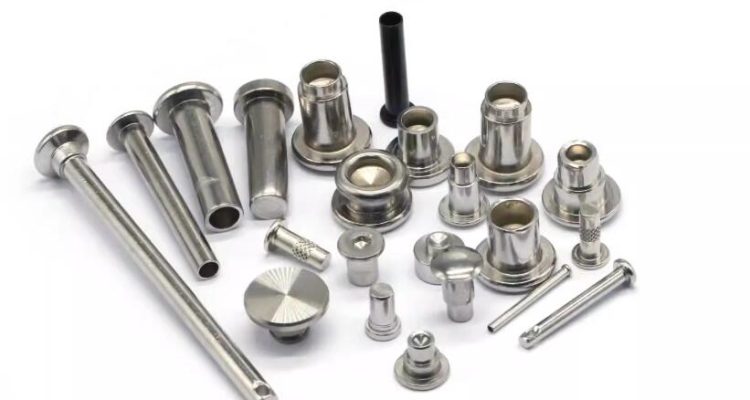
Securing Components with Set Screws
Set screws are commonly used to hold components in place, in a variety of different applications. They can be useful in particular when attaching one part to a rotating component, where other fasteners might slip from centrifugal force.
Affixing Parts in Sliding Mechanisms
In a sliding mechanism, in which components must move against each other, set screws can be used to secure them together. For instance, in the example of a linear actuator, a gear might be affixed to a shaft by a set screw. A component that is on a shaft with a set screw can still slide back and forth with the shaft, but will remain directly in front of the screw and never slide off to the side.
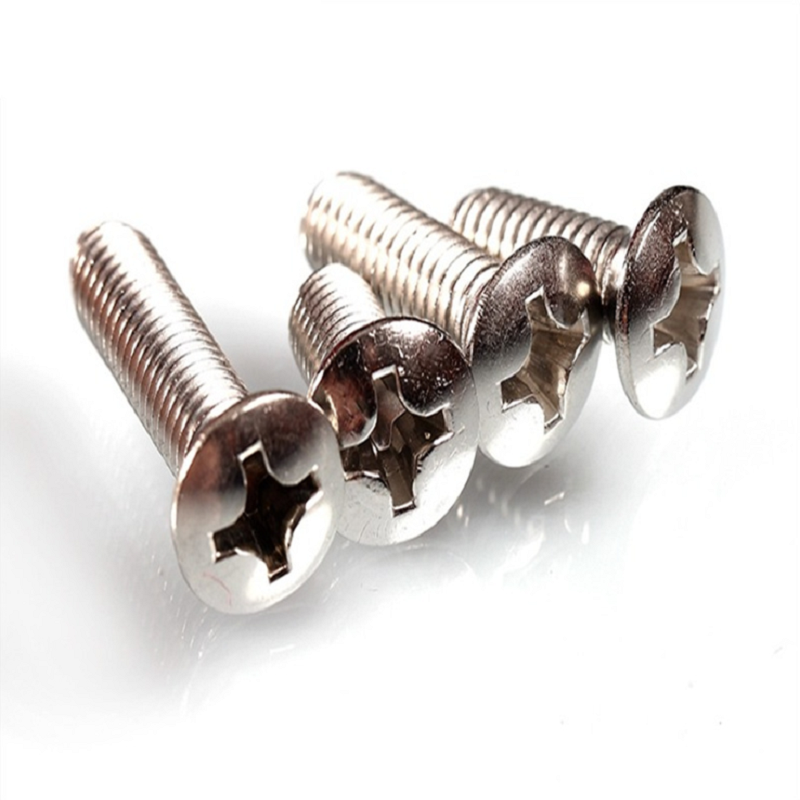
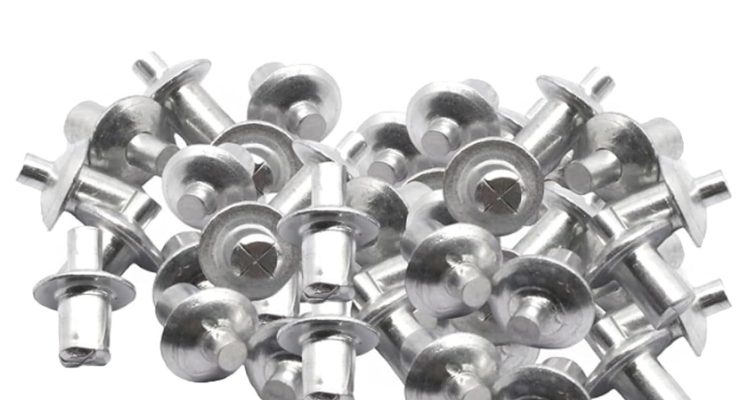
M3 304 Stainless Steel Phillips Oval Head Screws
Compression Forces and Their Application
Applying a force downward onto a component in an engineering task can also be accomplished with a set screw. Compressive force is useful in various engineering tasks, such as in the use of a clutch or brake. By turning the screw, the adjusting member can be pushed up or down, not wanting to move, and since the force exerted is compressed, it can still pull the clutch or brake away when necessary.
Every engineer knows the usefulness of a set screw. These screws stay in place and secure the connection even in a confined space. Moreover, a set screw only tightens, so one does not have to worry about it loosening up after exposure to vibration. The screw type is commonly used in machinery and car assembly, as well as whenever precision and reliability of the system is of great importance. Therefore, it is crucial to give special attention to the final touches of one’s set screw project as everything has to be clean and accurately put together for the system to properly work.
Make sure to clean out the work area immediately after installing the set screws. Exert all of the metal shavings, as these could cause long-term damage to the moving parts of the system. One should also push out any residual lubricant, unless it should be a part of the system itself. Dirt and debris can also be gently brushed away or blown away from the assembly by the use of a simple air blow. One must ensure that no contaminants are entering the moving parts of the system as otherwise, the system could break prematurely.
Another crucial step is checking up on one’s measurements after the installation has been completed. It is highly recommended to use calipers to ensure the exact dimensions of the assembled parts. One should also use a level when assembling moving parts to guarantee that they are correctly aligned. Measures help one avoid long-term consequences of malfunction whenever a part is a distinct size from what one thought it was.
When to Seek the Advice of a Professional
Although many people enjoy do-it-yourself projects and save money by completing them on their own, it is sometimes much wiser to seek the advice of professionals. This is particularly true when it comes to complex machinery or high-precision equipment, where a tiny inaccuracy can result in a profound issue. Professionals have the necessary experience and expertise to manage difficult installation and, furthermore, they can provide the best advice on keeping the integrity and performance of any set screw application. By following all of these steps and not neglecting the final touches, a person can be confident in the quality of the high-precision set screw project and not worry about its early expiration.
相关文章
How to get custom screws made
Seek reputable …
What Is A Custom Bolt And How To Use It
Custom bolts ar…