
How to ensure the proper depth for press in standoffs
Ensure standoff installation to within ±0.05 inches using a depth micrometer, with a press brake set at 1.5 inches and regular calibration for precision up to 0.001 inches.
Table of Contents
ToggleUnderstanding Standoff Installation Basics
Understanding how to install standoffs is crucial to getting a firm and dependable fit. One might be wondering what a standoff is, they’re widely used components in a range of industries, from electronics to construction. The standoff is designed to separate two surfaces by a specific spaced position. To get the standoff to fit correctly, you need to consider the types of material you have and the dimensions of the standoff, as well as the equipment you use to install them.
Identifying Suitable Materials for Standoffs
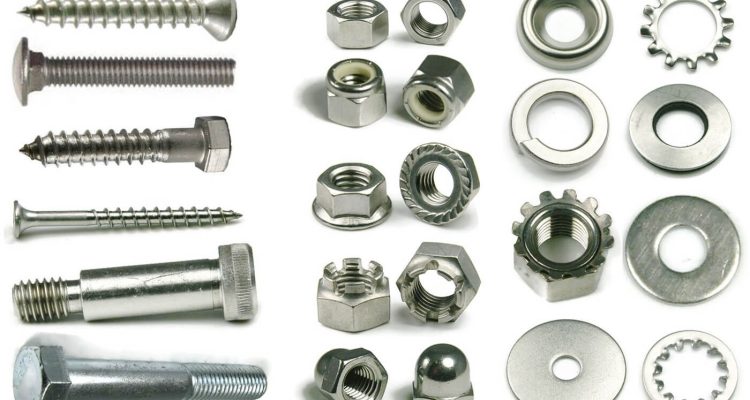
Ensuring that the material of the standoff is appropriate is key to proper performance and longevity. Stainless steel is a common material for standoffs, as it offers superior corrosion resistance and is suitable for indoor or outdoor use. Aluminum standoffs are another option, as they are lightweight, offering a high strength-to-weight ratio that can reduce weight when weight is an issue. However, the threaded standoff is typically composed of aluminum with a tensile strength of 70,000 psi and is lightweight but should still be securely connected to a heavy part or sub-assembly to be assembled properly, specifically in the electronic industry.
Importance of Precision in the Standoff Integration
The manner in which the standoffs are integrated into the design is crucial. The standoff needs to be properly measured and installed to ensure that the measurements of the standoff, such as its length, diameter, or thread, are correct. For critical applications, if the standoff is not adequately aligned or installed, it could potentially fail prematurely. For instance, if the thickness of the part was significant, a misaligned standoff might allow components to slide out. To minimize these risks, it is recommended that a calibrated torque wrench be used to tighten the standoffs to a standardized value, which is commonly 15 Newton-meters for M6 standoffs.
Several considerations ensure standoffs are installed correctly, and that they perform their task well. Preparation and having the right materials are crucial for any installation that involves standoffs. The process requires a bit of precision in terms of installation, and generally, useful for beginners. Use of the wrong installation techniques may prevent the correct fastening of materials, thus leading to instability.
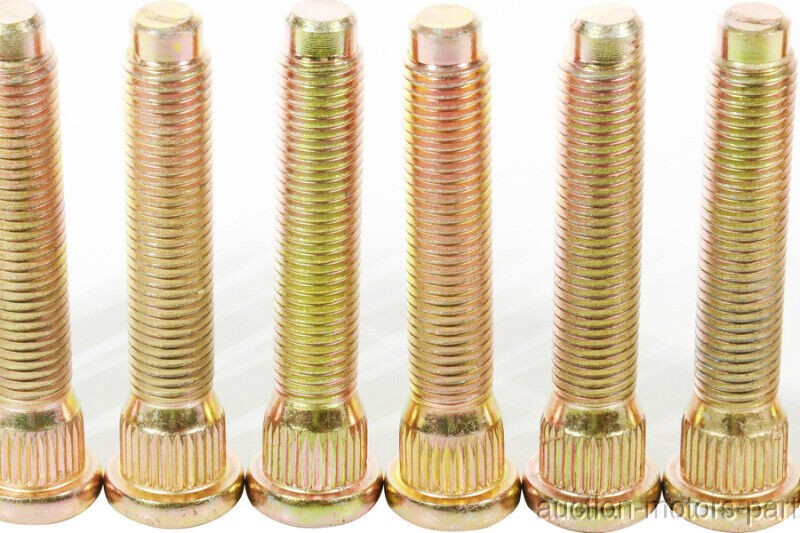
50mm Long Extended Wheel Studs
Pre-Installation Preparation and Measurements
Select the correct hole size – The first step of any standoff installation is selecting the correct hole size for drilling. This choice directly affects the grip of the standoff when they are installed correctly. For example, when using a 1/4-20 thread standoff, the hole size in the sheet should be drilled to a size of # 35 tap with a diameter of 0.138 inches. The sheet needs to be just tight enough without being too tight that it cracks or so deep that the section of standoff with the thread does not grip the material or worse strip removing the load.
Understand the standoff sheet thickness compatibility – the compatibility of the sheet thickness and the standoff is another consideration to think about. The standoff thickness is based on the available standards. In this case, the 1/4 inch long standoff is compatible with a sheet thickness of 0.049 inches to 0.109 inches. Going beyond the said limits means that the standoff may not be tight enough for the application or the standoff may fall right through the sheet making them less useful in the application. It is essential to consult the manufacturer datasheet or reference for the standoff to find out what the sheet thickness in the application should be.
Through detailed preparation for the installation and understanding of the components, you can ensure that the construction will be solid and rigid as long as the specifications suggest. This implies that that the attention to detail at the outset will definitely pay off in the future since there will be no malfunctions, faulty operation or expensive mistakes throughout the service life of the components. Accordingly, since it is crucial to pay attention to the precise placement, installation and orientation of these components in the construction installation, certain tools, tips and techniques must be employed. For example, between the combinations of the plate and the standoff in this installation, the following issues require particular attention to detail.
Particularly, all standoffs must be oriented correctly, or the loads applied on them will be uneven and disrupt the connection. For example, if the standoff has a threaded insert around its hole, this insert must be facing the right direction so that the screw will go through and fix the component properly. Accordingly, one should make a test to ensure that treads on the standoff coincide with the ones on the pre-created hole by seeing that they align. Second, the orientation of the screw is also critical for its proper installation. All standoffs should be centered and come out straight, so their axial alignment with the plate in the combination must also be maintained. To do this, these holes must be created by a CNC drill press as a CNC Surface Grinder Manufacturer: CNC Milling is used in the manufacturing of the part itself. Finally, a particular jig should to be used to make sure the standoff assembly is inserted as straight as possible into the previously created holes.
In summary, this focus on the proper orientation and axial alignment of the combination will make these connections not only visually appealing but also solid and stable. Overall, the combination of correct orientation, axial alignment, and proper use of equipment will make it a perfect example of a connection built to last.
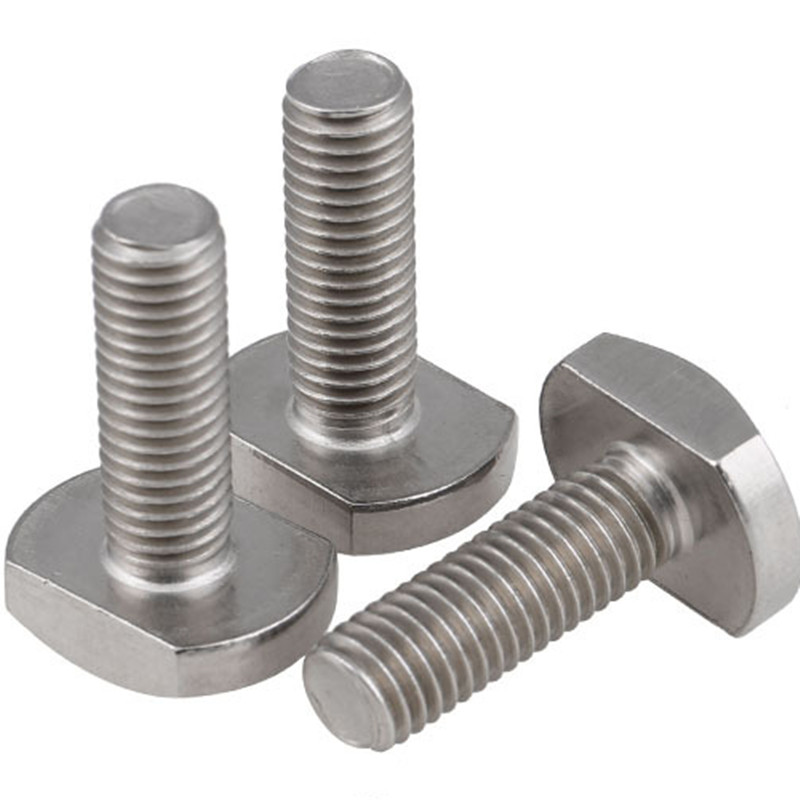
M5 304 Stainless Steel T-Slot Bolts
Installation Process Ensuring Optimal Fastening
FASTENING STANDOFF is a very precise process, as otherwise, there might be a risk of the item not holding well enough. The following sequence of steps outlines the procedure that is most likely to secure the standoff to the sheet and make the fastening strong and reliable.
Securing Standoff to the Sheet
Begin by cleaning the hole in the sheet and the standoff to avoid any presence of dust, dirt, or oil, as all these will interfere with the quality of fastening. Align the hole with the closure and make sure the standoff is strictly perpendicular to the sheet. In case you have to provide a Thread-Lock Adhesive Compound, choose Loctite and apply it to the fastening’s thread part. Hold the standoff with a wrench on the sheet side and with a screwdriver corresponding to the head’s size.
Slowly start screwing the standoff to the sheet as you maintain a constant pressure. Do not over tighten the standoff, as it might strip; do not stop applying the pressure until the standoff reaches the necessary depth. …5 inch-pounds. For holders with a #10-24 thread, the required torque range is 5-10 inch-pounds. Torsional Resistance through Proper Installation
Torsional Resistance is defined by the standoff’s natural resistance to unscrewing when the item is subject to the action of torsion forces; these may be caused by sheet vibrations, for example.
The first prerequisite for adequate torsional resistance is the correct choice of a standoff with high enough resistance to this sort of force. A standoff with a nylon insert provides a very high degree of such resistance, usually in the neighborhood of 15 ft-lbs. The second important condition is the precise adherence to the manufacturer’s recommendations on how exactly to handle the standoff. Make sure to apply the corresponding torque and check and revise it regularly in vibration-rich environments.
It must be acknowledged that proper installation practices are associated with the standoffs’ performance and the robustness of the fastening process. Fasteners that are securely attached to the assembly can serve as a solid foundation for daily use, and it is imperative to ensure such a result. Hence, fasteners must be securely placed, and the process of installation should include several components. In this context, it will be necessary to address some technical considerations to guarantee the standoffs’ stability and reliability.
First and foremost, those who undertake the so-called fastening process should observe the research-based hole tolerances.
In other words, installers’ work should be carried out in accordance with technical requirements related to the diameter of the drilled hole. The dimensions of the hole should provide the standoff with precise conditions to be appropriately seated and torqued. In the case of a screw standoff with a thread size of #10-24, for instance, a hole diameter should be equal to 0.197-0.199 inches to ensure that the securing of fasteners is appropriately made without creating any additional stress. This way, it will be possible to say that technical considerations can contribute to the stability of fastening because of the adherence to proper practices.
As I mentioned in the previous posts, the right tools are necessary for the precise installation of standoffs. First is a drill press. It usually has a precision chuck and bits to make holes with proper diameters and straightness, which is essential for standoffs. Next, one needs a torque wrench to apply the proper amount of force for the tightening of the standoffs. If the installation is critical, one can use a micrometer or a depth gauge, among other equipment, to verify the depth of the standoff after its installation, and ensure it matches the designs requirements. After a hole is drilled, it might be useful to use a thread tap, which would clean and prepare the hole for the standoff, making the installation easier. Overall, the use of these techniques and tools allows setting the standoffs with more precision and, therefore, yields a more durable and stable resulting product. Finally, considering these technical issues helps setting the installation tolerances that later use of the product should stand.
Installation Quality Tests
One of the things that one can test once the standoffs are set is the flush seating of the hexagon head against the panel.
If the head sits above the surface of the panel, it might affect the stability of the installation and look unprofessional. However, the most critical issue is potential misalignment and the resulting damage for the panel or the elements installed on it. This is the reason why the gate should be between 0.01 and 0.2 inch. In case the head protrudes, and a smaller gauge cannot fit the gap, too much force was applied when tightening the standoff, and the panel must be replaced. On the other hand, the smaller gauge should not be a snug one – its light push should create a contact with the head. This test is one of the simplest yet highly effective way to ensure the quality of the installation.
The final step in the installation process is testing for rotational resistance and stability. This test ensures that the standoffs have been securely fastened and that they are structurally sound. To perform a rotational resistance test, grab the hexagon head of the standoff and attempt to rotate it. The standoff should show no signs of rotation; if it does, this means that the standoff may not have been tightened properly or the thread lockant may not have fully cured. In addition to this test, it is recommended to also perform a test of panel stability. In this test, apply a force horizontally to the panel; it should not show any movement with regard to the standoffs. After both tests have been conducted, it could be assumed that your standoff installation has been completed, and your assembled product is ready to be used. By verifying proper installation and conducting performance tests, you guarantee quality and prolong the useful life of your product.
相关文章
How to locate nearby fasteners suppliers for quick procurement
To quickly find…

What is the difference between a hex head bolt and a heavy hex bolt
Hex head bolts …