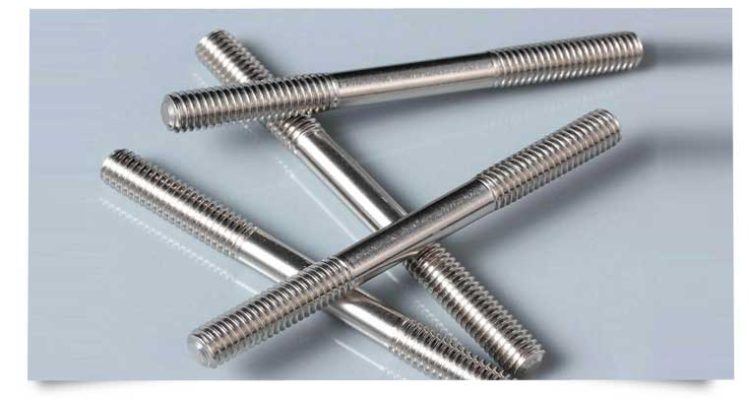

How to install studs
Install studs by measuring, marking, cutting, securing with screws or nails, ensuring straightness, and aligning with level.
Basic Steps in Stud Installation
Marking and Measurement
This step involves taking a tape measure, marking the length of the wall where the stud will be fixed. It also involves marking the positions for studs. The studs must be uniformly spaced and should ideally be spaced at 16- inches. The next step involves taking a drill machine and making a hole where the stud will be fitted.
Drilling Holes
Taking the drilling machine, make holes at the marked positions. The holes should match the diameter of the stud you are using. This is done to ensure that when the stud is inserted into the hole, it fits tightly and is able to be parallel to the vertical wall. Place the stick into the hole and ensure that it is properly aligned in a vertical position
Inserting Studs
It will be realized that some of the studs may not go all the way inside the hole. The drill further to ensure that the stud goes inside the hole to the end and not halfway.
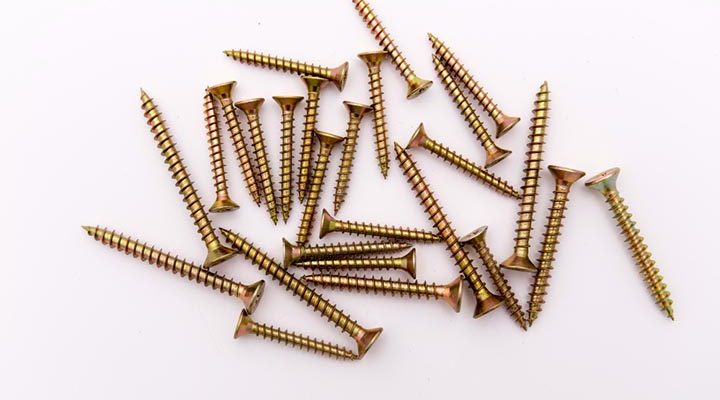
Securing with Screws
When the studs are properly inserted into the hole, use screws to fasten the studs. The screw should be long enough to go through the stud and hold it firm onto the wall.
Checking alignment
Take a level and use it to check for the alignment of the studs. It is supposed to be in a straight position, that is, in a vertical position. Correct on any that is misplaced.
For example, if one is putting up a partition wall start measuring the exact height of the wall and then take uniform spaces of 16-inch along the wall. The next step involves taking a drill machine and making a hole at the marked position. Insert the sticks into the hole and ensure that they are uniformly parallel with the wall Also, use screws to fasten the stud firmly. Any that are not properly fixed make the necessary adjustment to ensure that all of them are vertical, that is, parallel to the wall. Proper installation of studs is important for the overall stability of the wall. When the studs are firmly fixed in the wall, there will be no issues of shifting the wall or sagging over a period of time.
Construction activity
In human construction of projects, such as building a new wall or framing a room, the stability of the wall or the room will depend on the activities that are involved in the installation of the studs in the wall. Based on these steps one can confidently say that the wall or the structure is stable and can last for a long time. A final physical inspection must be carried out to ensure that all the studs used properly installed and firmy fixed.
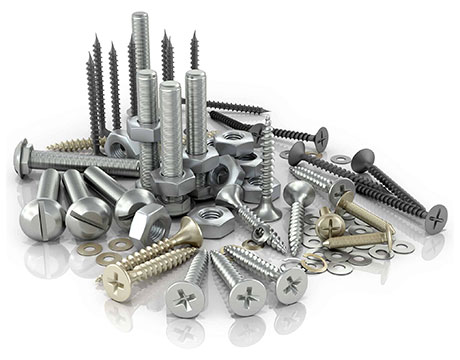
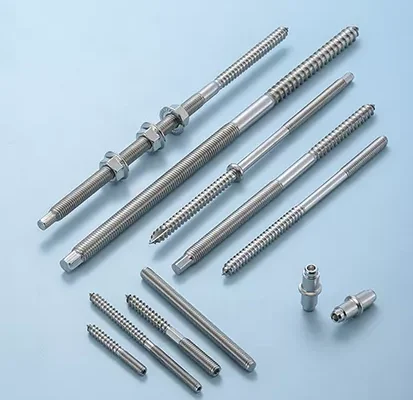
Industrial Fasteners & Fixings
Piloting Holes: Size and Technique
Selecting the Right Drill Bit Size
Use a drill bit size that corresponds to the diameter of the screws or bolts that the hole is intended to fit. For example, if you are using 1/4-inch diameter bolts, use a 1/4-inch drill bit.
Determining Hole Depth
The 2-inch depth works best for a surface that’s 1 inch thick. The hole should be just deep enough to accommodate the screw or bolt, minus the top thread or two. This leaves adequate screw length for fastening while preventing the bolts from bottoming out during use.
Technique for Drilling
To guide the drill as you make the hole, put a mark on the surrounding area. Hold the drill exactly vertical or at a slight angle. Begin to apply some pressure to the bit but take care not to lean into it. Continue drilling, decreasing the speed of the drill to allow it to cut more cleanly.
Example
When putting in lag bolts to hold your deck down, use the 3/8-inch bit, corresponding to the bolt size. Measure the bolt by excluding the ¼ inch for the washer and subtracting 1/8 inch for an excellent grip. As you drill, keep the drill straight up and apply force in a consistent manner to create a clean hole.
Tips
Choose the material carefully – when working with wood, you can smoothly use a twist bit with a head tighter than the screw. On the other hand, for masonry, the carbine-tipped bit is the best choice.
To avoid splintering, put masking tape across the area you’re getting ready to drill, ensuring the hole drilling is clean and controls the surface from crumpling.
To lay a screw flush, employ the countersinking bit to create a hole screw head.
Example
Before putting the screws that will hold the doors’ knobs and pulls securely on your cabinet, drill them with a pilot hole. Start by choosing the best countersinking bit, somewhat hugging the screw head. Post drilling, create a shallow hole by the new bit, which will enable the screw to lay flush on the doors.
Test the Fit of the Hole
Confirm the screw fits tightly in the hole but not gripping or too loose.
Take Precaution
Pilot holes that are poorly laid can cause the hinge to stay off and force you to drill the screws again and lay the knobs and pull.
Correct Placement and Alignment
Marking Stud Positions
To begin the installation process, mark the position of each stud on the surface using a measuring tape and pencil. Ensure that the distance between each position is accurate, which is usually 16 or 24 inches, depending on building codes .
Checking for Obstructions
Before drilling holes to attach the studs, it is important to inspect the area to ensure that there are no pipes, wires, or other obstructions in place. Use a stud finder if necessary to check the location of existing studs if installation is in an existing room. For example, when creating a new wall in a room, first, determine the position of the studs in the plates. Use a measuring tape to mark the position of each stud every 16 inches to ensure proper alignment on the floor and the top of the plates .
Aligning with Level
As the studs are put in place, ensure that the surface is perfectly vertical using a level. Adjust the studs when necessary to fix any deviants and keep the correct alignment. Finally, the studs’ middle part should be plumb throughout their entire length.
Securing with Fasteners
As the studs are aligned correctly, attach them to the concrete or wall using fasteners such as screws or nails. For example, when building a wall with studs on a concrete surface, use concrete screws or masonry nails. Put the studs against the wall as precisely as possible, aligning with the marked positions. Insert the fasteners into the studs to attach them to the concrete or masonry.
Double-Checking Alignment
After each stud is set into place, double-check the angle using a level. If the level shows that the stud is not completely vertical, the structure has poor stability. Therefore, it is important to make necessary adjustments at this stage. For example, when creating a doorway, check the position of the studs on each side of the opening after drilling the nails in place. .
Testing Stability
Once all studs are in place, push it to ensure that the wall is well supported and is not flimsy. For instance, after creating a wall with a framed partition, pushing it should not increase any concern that it may break or fall.
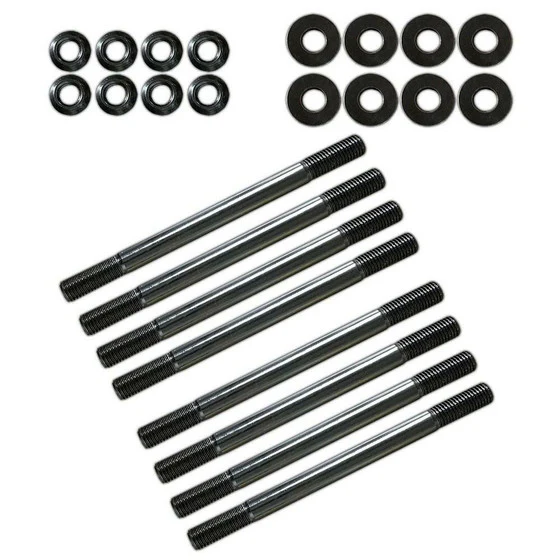
ARP Head Stud Kit Can-Am Maverick
Applying Pressure and Securing the Stud
Apply pressure
Before making the stud, apply some firm pressure so as to make sure a firm fit of the material into the hole drilled. This is important to ensure that there are no spaces between the stud and the surface. Applying pressure will make sure that the stud will perfectly fit inside the hole hence no movement once installed.
Use screws
Make sure you have the right screws with which to install the stud. This is important for joining the material to the surface. Ensure that the screws are long so that they should go inside the stud and form an anchor inside a material being used. Assume that you are installing the door frame. First, apply firm pressure to make sure that the stud perfectly fits in the holes thus making a strong lateral connection between the floors and the ceiling of the room . There will be no movement once all is okay hence use a screwdriver or power drill and make holes to drive the screws inside the material through holes pre-drilled when manufacturing or making the material.
Apply pressure again
After making sure that you have used the screws in the correct way so as to attach the material to the surface, apply firm pressure so as to make sure that you make a connection of the material to the surface. The material will be firm if installed in the right way and does not move. When installing the shelf, bracket into the wall, first apply pressure to check how firm the shelves are after being attached to stead. Those requiring to be attached should counter-cheek again by pushing and pulling to show that the firm fit should be attached since there will be no loss of the material from that aliment – it should remain firm the installed studs . Finally, when installing the dry wall using the stud for attachment ensure that you check using the level that it is level and if some are not adjacent them to ensure the output is good and it looks nice. A well-installed wall will look nice if all are equal and adjacent.
Use additional material if necessary
Add additional material if the fit is not firm. However, when installing a corner of adjacent room or walls within the room, make sure that you add a metal welded/tacked corner to ensure all remain firm and give an output of class.
In conclusion, I would say making material firm by joining them is a simple task. It requires pressure during fitting and application of screws to ensure the connection is firm. Applying pressure for the second time when screwing the material can check firmness if rang of breaking the material shakes. Making a firm is very important to ensure that the product will serve its purpose it was made for.